So you want to learn how to build a robot. You may have done some searching and stumbled upon various Arduino contraptions, or expensive Lego kits.
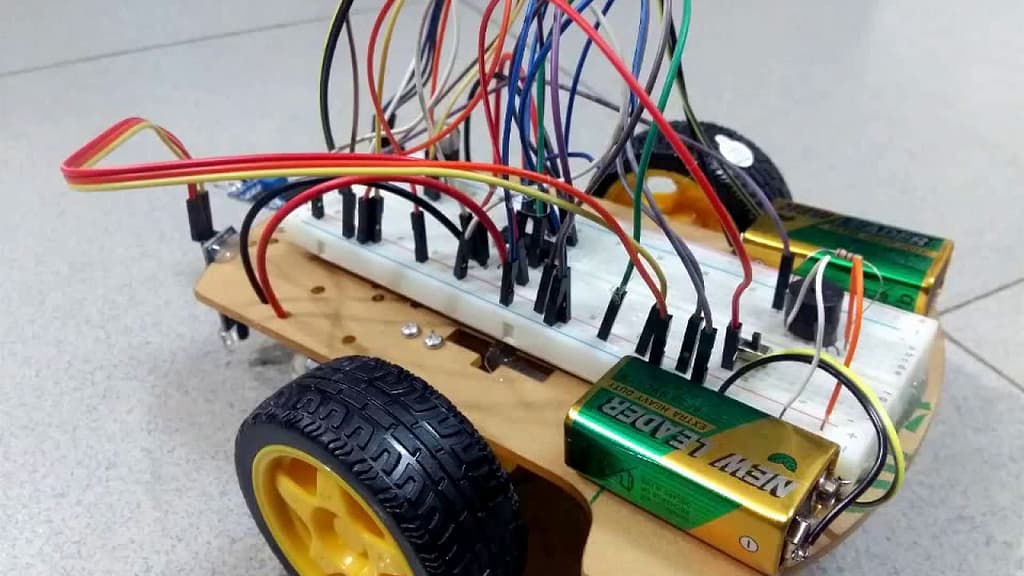
But if you’re anything like me, Legos and hot-glued breadboards aren’t what you had in mind when you first decided to pick up robotics. I have built countless DIY Arduino robots like the one above, and even taught workshops on how to make them. Usually, though, the majority of the time is spent trying to keep everything together with tape and glue, and trying to find that one jumper wire that came loose that’s causing everything to malfunction.
This leaves little room for learning how to develop good robotics software, and the end result is usually not as impressive as you would have liked.
In this tutorial, I will give an overview of the best options available for building robots on the electrical side (power, microcontroller, motor drivers etc.), as well as the mechanical side (chassis, motors, robot body), and I will assume you are a total beginner who wants to avoid spending hundreds of dollars on expensive hardware.
How to Build a Robot – The Electronics
Option 1: The Typical Arduino Setup
Although one of the purposes of this tutorial is to present some alternatives to this setup, I will include it here to provide a comparison to the other options and explain some of the basic components that go into a robot.
Electronics you need:
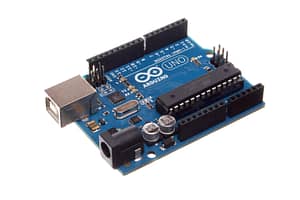
- An Arduino (or other microcontroller board, such as Raspberry Pi)
- The brain/computer/controller of your robot. This is what you program.
- A breadboard
- For connecting wires without soldering.
- A set of jumper wires
- A motor driver for each motor
- As the name suggests, needed to control the motors safely.
- A rechargeable battery
- If you care about your robot at all, you won’t be using disposable batteries.
- A method for charging the battery
- Either a dedicated LiPo charger, or a battery charging breakout board.
- A voltage regulator (buck or boost)
- Your Arduino likely already has a voltage regulator built in, but this requires your battery voltage to be higher than the Arduino’s battery voltage (bigger battery), and there is a, usually not so high, limit to the amount of current that can pass through this voltage regulator.
- A communication module (optional)
- Your robot could be entirely autonomous or pre-programmed, but many people like to be able to control their robot remotely, or at least have it linked up through bluetooth or Wi-Fi for data logging.
- Miscellaneous resistors, capacitors, LEDs etc.
- Some of your components will likely require some external components to operate and some LEDs to see what is going on is always useful too.
- Soldering Iron (potentially)(not included in cost below)
- Some of the components above are likely to require the wires or connectors to be soldered on.
Estimated Cost: $60-$100+
I actually added all of the components above to my cart at Sparkfun, going for the cheapest suitable components, and it came out to $61.45 without Bluetooth, and $81.40 with Bluetooth.
Size: Huge
We actually got pretty good at compressing these components as much as possible by using stackable breakout boards, but even then, the size of our stack was still bigger than we wanted some of our robots to be. We were also 3D-printing all of our robots, so with the increased size prints would take entire days.
Where to buy: Sparkfun, Amazon, Adafruit, Aliexpress etc.
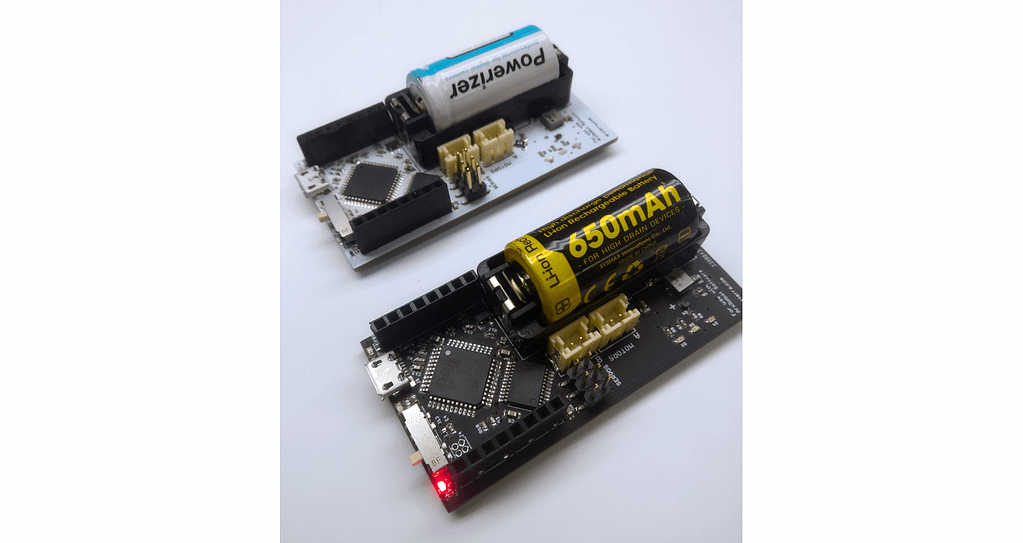
Option 2: Using a 3DoT Board
Full disclosure, we make this board, so we’re obviously going to include it in this list, but we developed it as we were growing frustrated with the solution above, and not getting our robots as small as we wanted them to be.
Electronics you need:
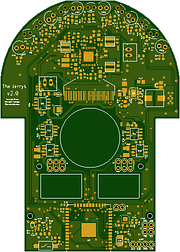
Yep, that’s it! The 3DoT contains all of the components mentioned in option 1 on board, and more. It also wasn’t quite as simple as dropping all the components onto a printed circuit board (PCB) and hooking them up. We spent over 5 years perfecting the circuit as we ran into the technical limitations of using a single-cell LiPo battery, powering multiple motors and servos at once, all while maintaining a steady Bluetooth Connection and power supply to all the other components.
The result, however, is this small board where you can plug in some motors, servos, sensors and whatever you like, and get straight to programming your robot. The robot can still be programmed using the convenient Arduino programming environment and the on-board battery is charged while the USB is plugged in.
If you want to do some electronics design yourself, you can still always plug wires into the top and front headers or design PCBs to plug into them as shields, expanding the capabilities of your robot.
Cost: $49.95
Size: 35x70x19mm – fits in the palm of your hand (I have big hands, results may vary)
Where to buy: www.humansforrobots.com (Sign up to be notified for Kickstarter launch around November 2019!)
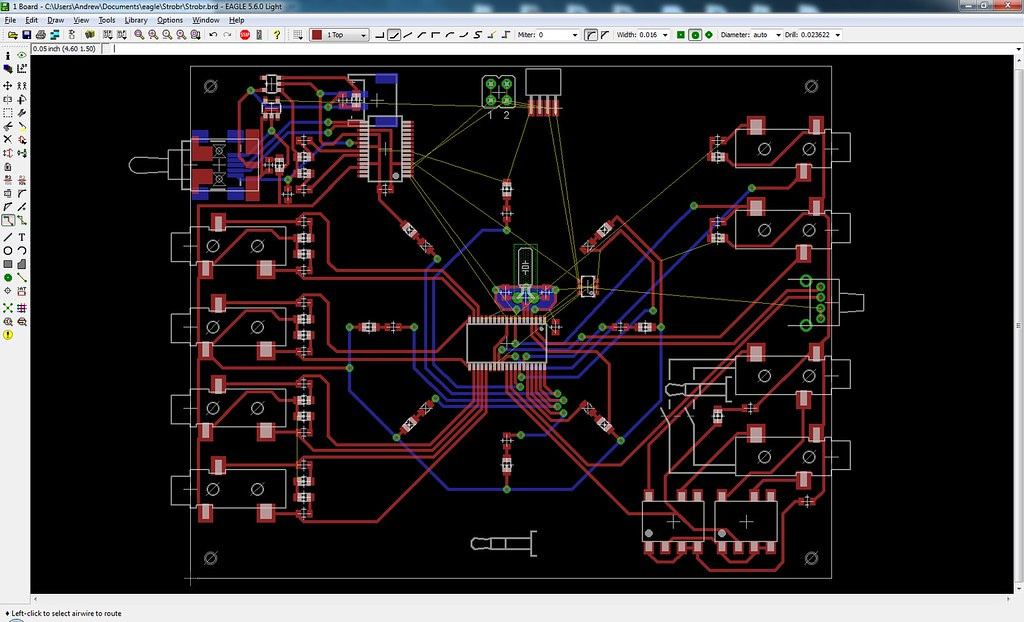
Option 3: Design Your Own Hardware
Although not beginner friendly, this is really the only other realistic option besides a development board. If hardware is your thing, though, this is the option for you.
If you have never designed a PCB before, I would suggest starting with something simple, like an Arduino shield or 3DoT shield. Popular software to use are EAGLE and KiCad.
Once you have some experience building small, cheap PCBs you can start designing your robot’s PCB.
Electronics you need:
- A PCB (Very cheap when ordered from China)
- All the components that went into your specialized design
- Also cheap from China, but costs can pile up quickly when ordering components such as microcontroller, motor driver, boost IC etc. in low quantities.
Estimated Cost: ???? – cheapest
This will definitely be one of the cheapest options when taking only the cost of components into account, but the main disadvantage is the amount of time and dedication required to gain all the knowledge required, and the labor involved in building the PCB. Every tiny surface-mount component in your PCB design will need to be hand-placed using tweezers and either hand-soldered or reflowed in an oven. Then, if your PCB doesn’t work you may have to order and wait for new PCBs and repeat the whole process.
If you’re still up to it, though, and you have the knowledge required to understand an electrical schematic, I would recommend starting with Autodesk’s EAGLE tutorials to start learning EAGLE.
Size: ???? – smallest
How to Build a Robot – The Mechanical Components
Option 1: Buy a Chassis
Difficulty: Easy
Cost: High (for what you get)
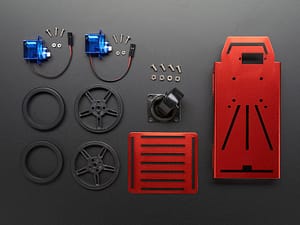
If you’re not looking to design anything unique, and just want a robot to drive, this is by far the simplest option.
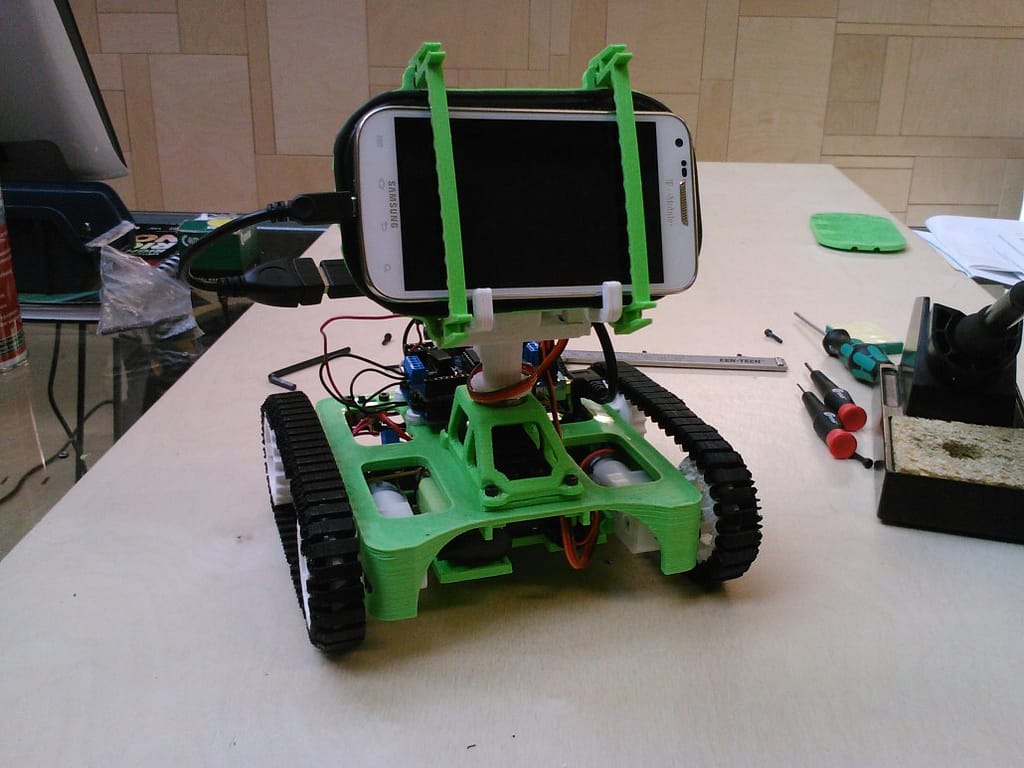
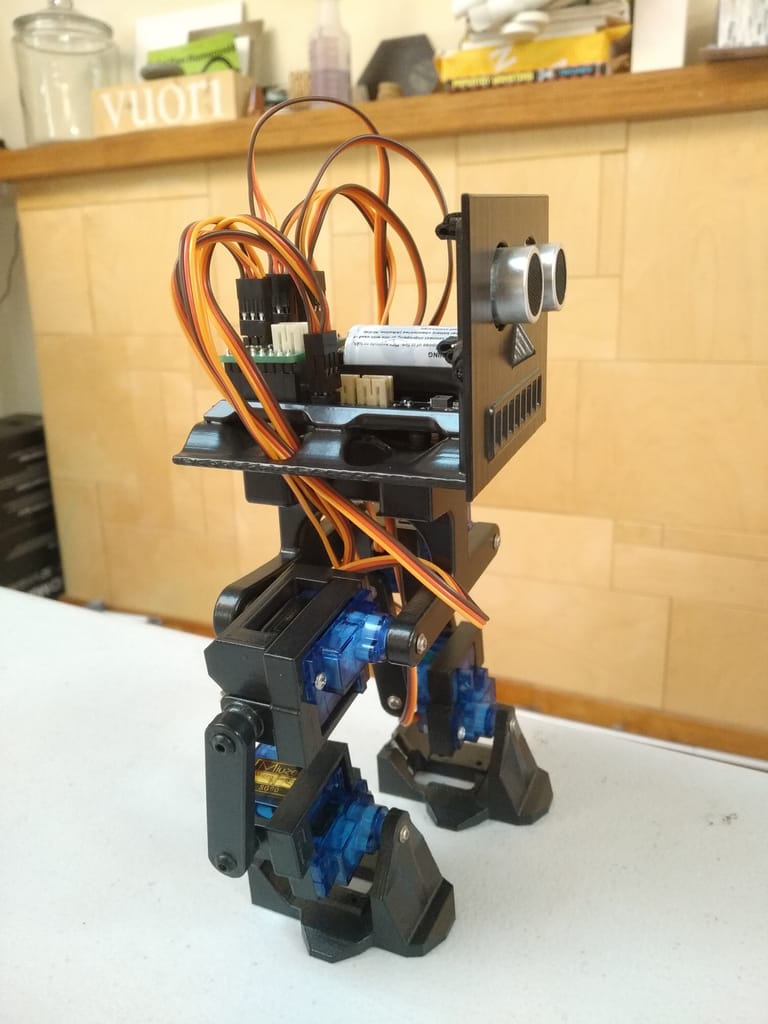
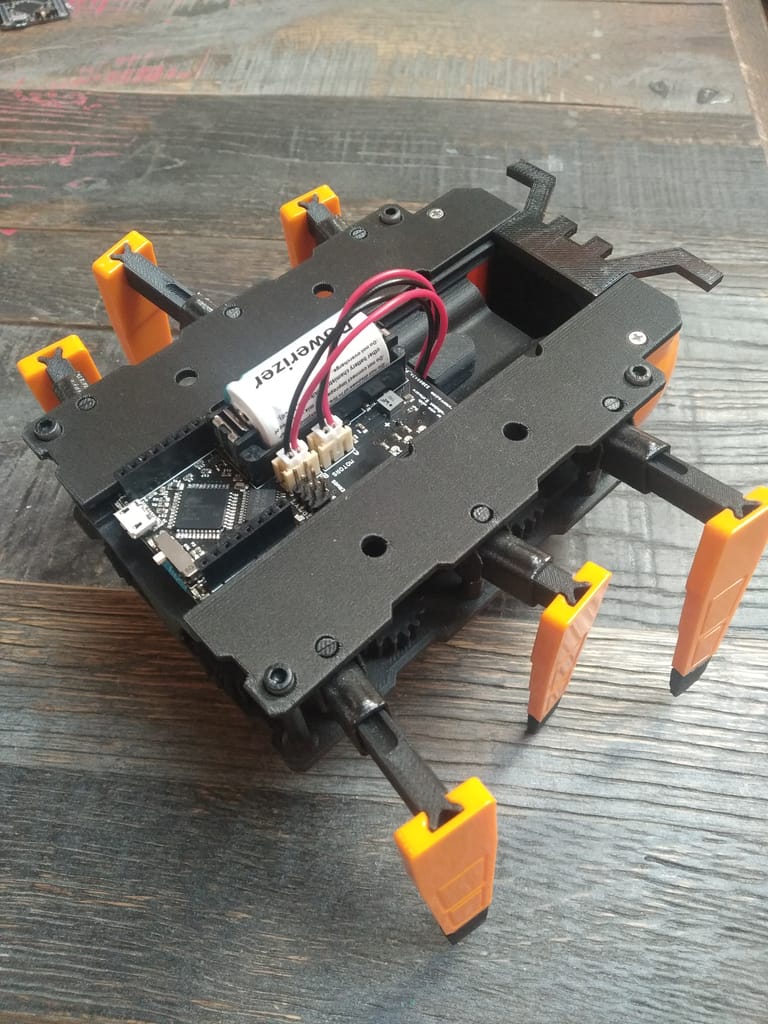
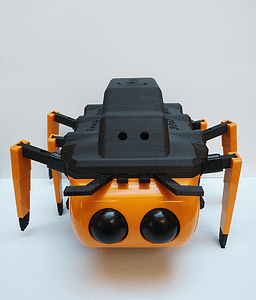
Option 2: 3D Printing
Difficulty: Medium
Cost: Medium
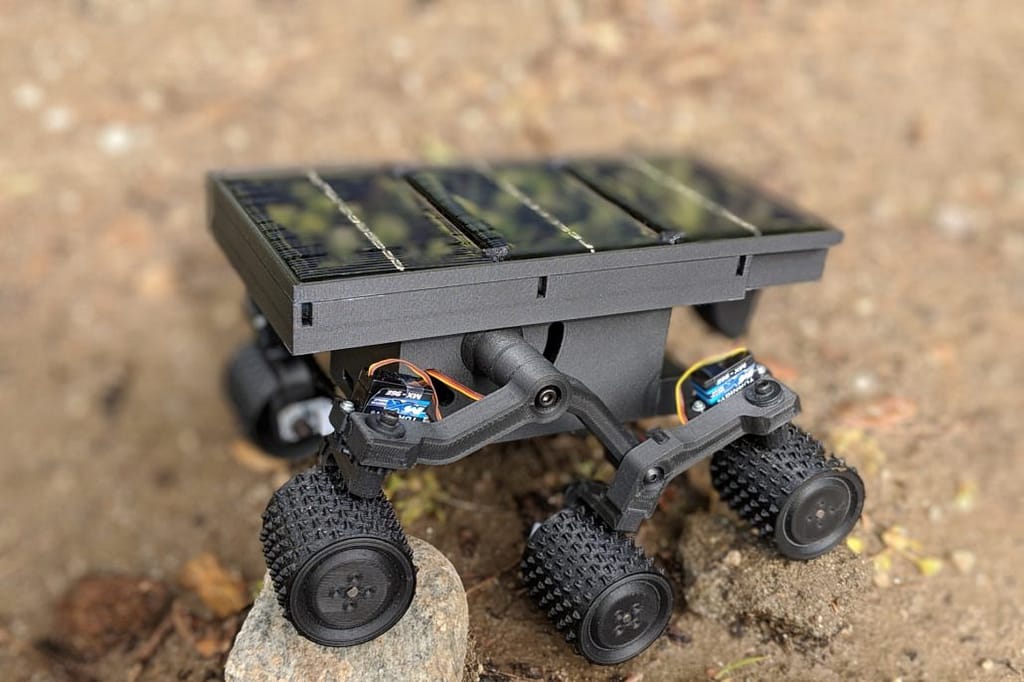
This is our favorite option, simply because it can produce the most versatile and advanced designs. Obviously, it requires access to a 3D printer, but many libraries, university organizations and Makerspaces have 3D printers available to use or get prints done nowadays.
Fusion 360 is available free for hobbyists to get started designing your robots!
Option 3: Laser Cutting
Difficulty: High (to make something cool)
Cost: Low
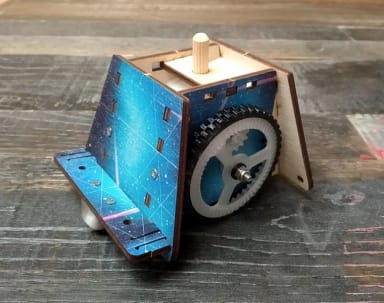
Again, this requires access to a laser cutter (check out your local makerspace!), but wood is dirt cheap and you can easily cut many different prototypes.
Conclusion
At Humans for Robots, we want everyone to be able to build the robots they dream of, and I hope this guide will give you a good starting point. The classic approach of buying a microcontroller board and all the parts separately can be a good learning experience, but may also not be practical for a lot of people, is more expensive, and won’t let you build a truly beautiful robot.
A 3DoT board will have you covered, whether you’re a beginner or a pro. The included iPhone/Android app can also be a great solution for controlling the robot. However, if you’re looking for the highest performance then a custom PCB will be the way to go if you really know what you’re doing.
Get building! Let me know if you have any questions in comments!