The Story (Short Version!)
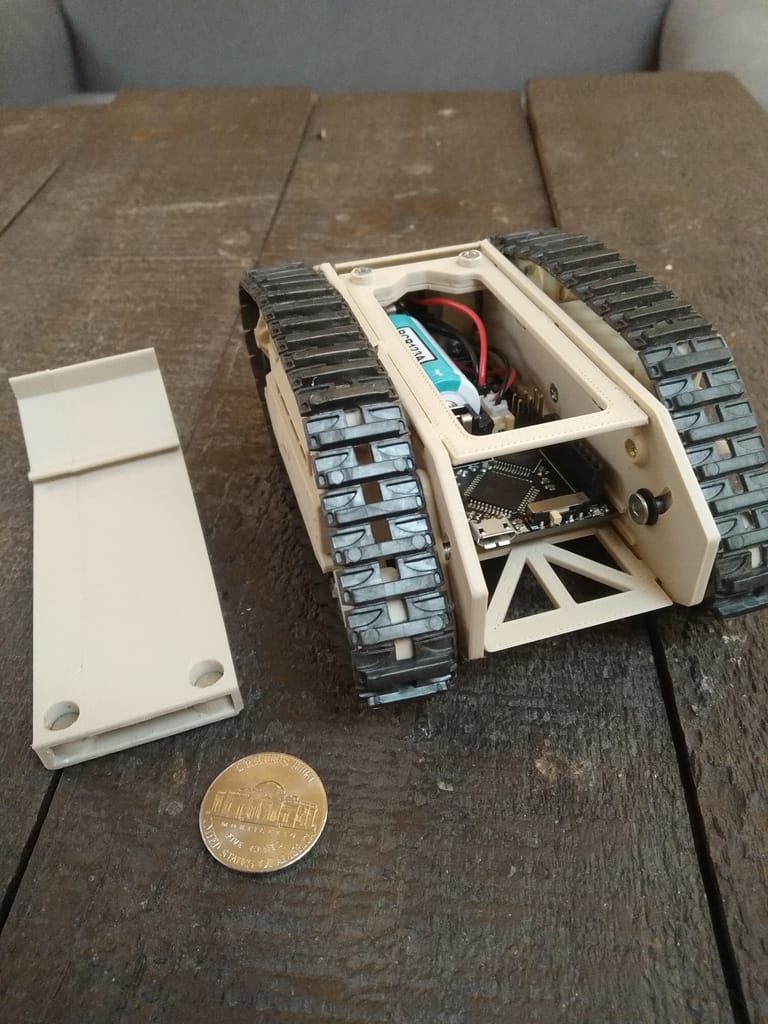
When we first started prototyping the Goliath drive train, we decided to make the drive wheels compatible with the proprietary Tamiya Track & Wheel Set. This set is a pretty good visual and functional match for the original Goliath track system, in that Goliath relied on a single midline sprocket drive wheel to engage the track. This would enable us to iterate the rest of the design rapidly without concern about how quickly or successfully we could eventually create our own track designs.
Really great 3D-printed tracks can be a challenge, since they need to flex around the track path but not stretch significantly, be easily installed and uninstalled while not easily thrown, and print cleanly with commonly available FDM technology. Ease of assembly or, better yet, no assembly at all, is an extra bonus.
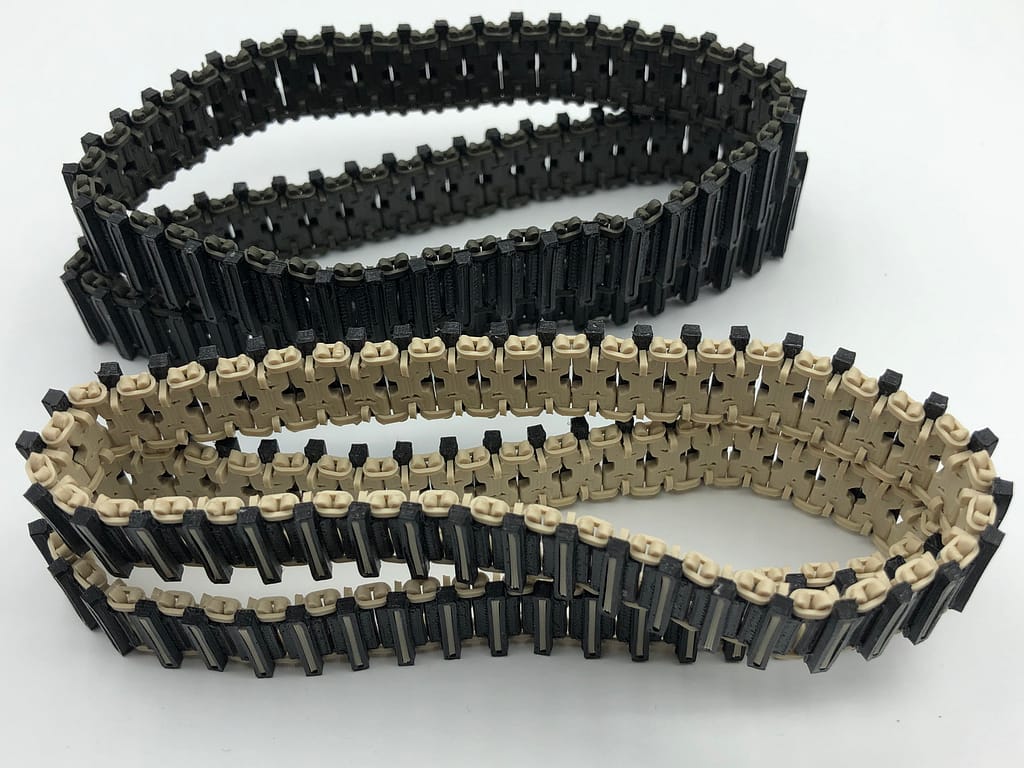
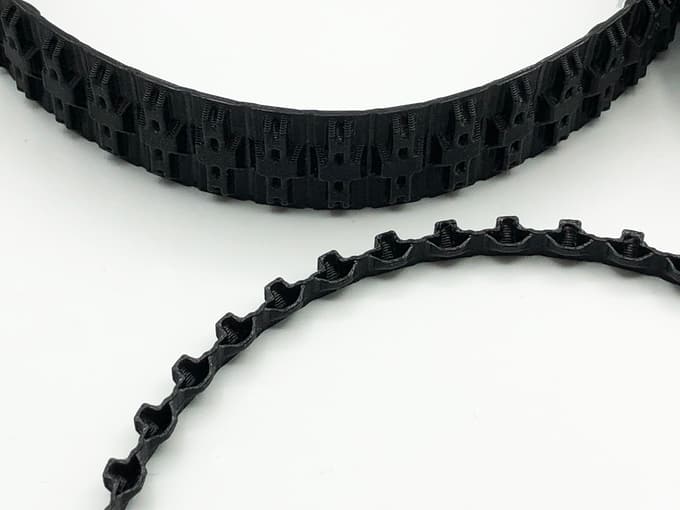
After getting the rest of the model mostly done, we found time to return our attention to the tracks. After testing several ideas, we arrived at our current design for the multi-part tracks. Officially named the Chain Link Tracks, but more affectionately known as the Insane Tracks, they remain my favorite for functionality, and they require only the 3D-printed parts without pins or other hardware. However, they require careful 3D printer calibration and a lot of time and effort to print and assemble. We already posted about them, so now we will focus on the one-piece track.
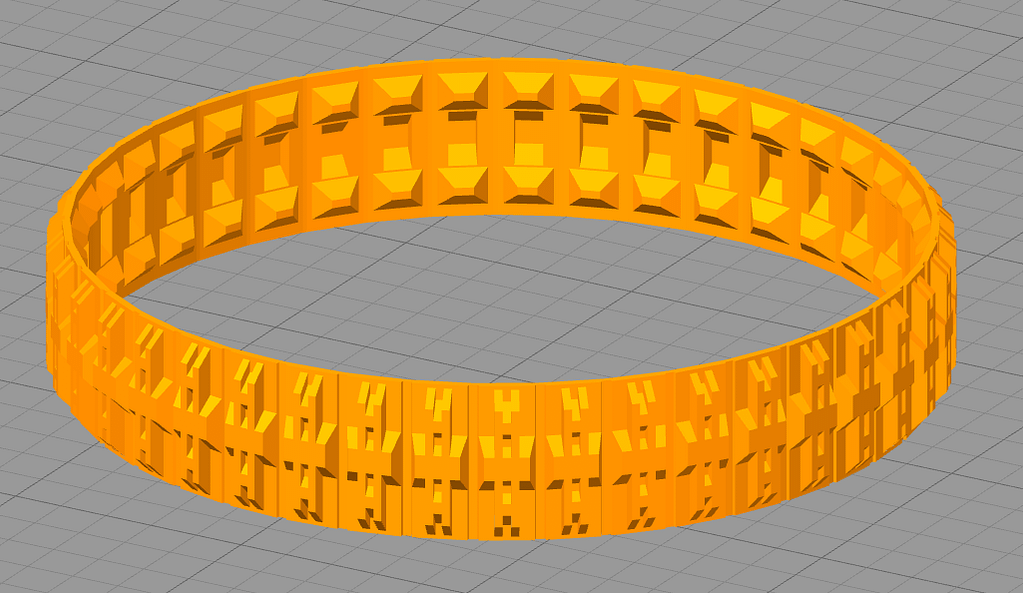
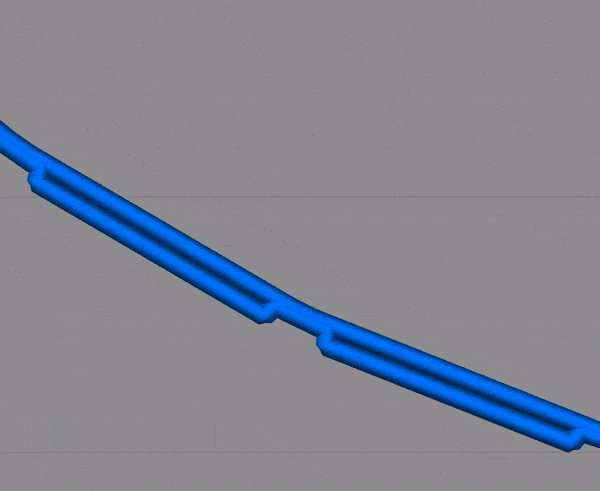
Once we had a track design that we knew would work, I felt free to spend some time on ideas for a totally different track that would be easy and quick to fabricate and install, retaining the Tamiya compatibility but 3D printed entirely in one piece with a semi-flexible filament. Here the clean print requirement meant that a whole track needed to be laid down in one continuous trace, with no retractions or supports. The result is shown in the following screen capture image and recording
Screen Image from Simplify3D setup screen.
The Result:
Details & Print Setup
Design Goals
- Parametric equation-driven dimensions to permit easy adjustment of:
- Plate length
- Segment length
- Track width
- Section count
- Conformity with 3D printer nozzle width and layer height
- FDM 3D printer fabrication minimizing travel movements and retraction.
- Single wall
- Zero infill
- 45° angle in all transitions so supports are never required
- Compatible with Tamiya track and wheel educational construction series.
Simplify3D Print Settings
- Material
- Ninjatek Cheetah
- Extruder Tab
- Nozzle Diameter: 0.4mm
- Extrusion Width: 0.4mm
- Layer Tab
- Layer Height: 0.2mm
- Top Solid Layers: 0
- Bottom Solid Layers: 0
- Outline/Perimeter Shells: 1
- First Layer Speed: 40%
- Infill Tab
- Infill Percent: 0
- Temperature Tab
- Bed Temperature: 40°C
- Extruder Temperature: 240°C
- Cooling Tab
- Cooling Fan Percent: 0
- Speeds
- Default Printing Speed: 24mm/s
- Outline Underspeed: 70%
- Advanced Tab
- External Thin Wall Type: Perimeters only
- Internal Thin Wall Type: Perimeters only
- Allowed Perimeter Overlap: 50%
- Ooze Control Behavior:
- Only retract when crossing open spaces
- Minimum travel for retraction 3.0mm
- Only wipe extruder for outer-most perimeters
- Movement Behavior: Avoid crossing outline for travel movements
- Maximum allowed detour factor 3.0